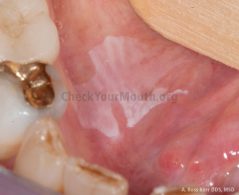
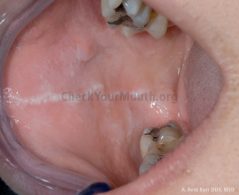
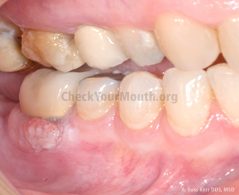
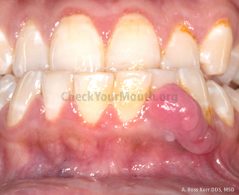
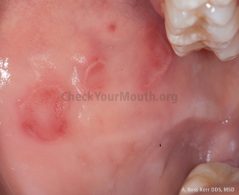
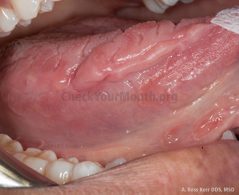
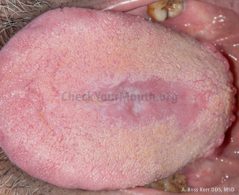
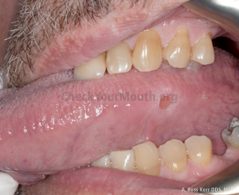
Your self-discovery “Check Your Mouth™” exam actually starts outside of your mouth by looking at yourself in the mirror. Both sides of your face and neck should look relatively the same as we are all generally symmetrical. If you are not, and an area is swollen and it stays that way, perhaps you have a reason to seek out a professional opinion. You’ll want to look and feel your neck, under your jawline, and even in the hollow above your collarbone.
Examining your neck. Why do we check this area?
You’ll want to look and feel both sides of your neck, under the jawline, along the muscle that runs down each side of your neck, then ending with feeling the hollow above your collarbone.
There are many lymph nodes in these areas that give us a lot of information about our health. They tell us about the presence of an infection in our body, and also can be related to cancer. Most often they are related to an infection and this causes swelling and tenderness. But lymph nodes that swell and enlarge, are not tender to the touch and feel firm and fixated in place are a red flag. In general, painful means infection not cancer (which if it does not go away still needs to be evaluated), swollen and not painful nodes, a warning sign that needs to be evaluated by a professional.
How do I check my lymph nodes?
Using your fingertips, use a circular motion or rolling stroke to check the lymph nodes from the corner of your jaw all the way forward to under your chin. You likely will feel nothing, and that is good. It is the hard, painless, swollen ones we are concerned with. They are usually about the size and shape of a small almond.
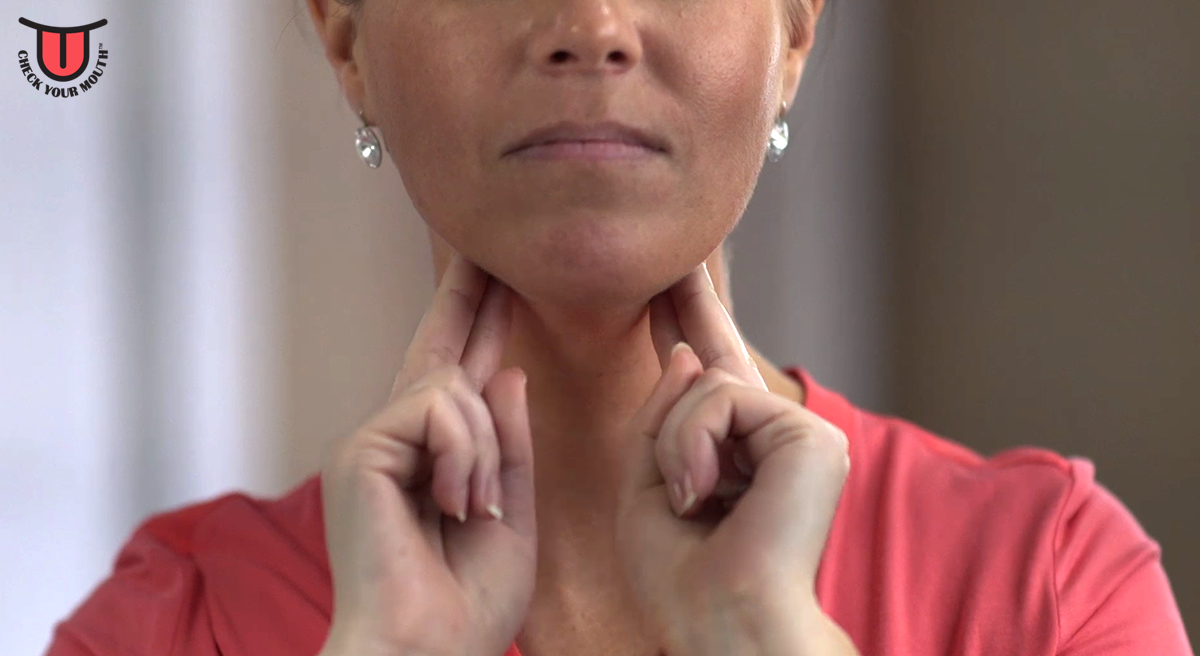
Next with your fingertips on the inside of the muscle that runs down each side of your neck, roll your fingertips from under the jaw down to your collarbone.Turn your head one way then the other to feel the area occupied by the deeper nodes along this muscle. It is not unusual to feel a number of different lymph nodes in this area. Healthy ones are soft and move about easily when you push against them. Next check the lymph nodes above your collarbone. To do this, you will want to raise your shoulders and round them forward. This allows you to feel inside the hollow area above your collarbone.

What am I looking for?
There are 100’s of lymph nodes in your neck. From time to time they may enlarge. This is often related to an infection, a cold, or a sore throat for example. If infection related, they will often be tender/sore, moveable, and will feel like a pea or blueberry. In contrast, if you find a hard lump like a small stone, first compare it to the other side. If it feels different from the other side, if it doesn’t move around, if it is not tender/sore, and persists for more than two weeks, have it checked by a dental or medical professional. Firm, doesn’t move about easily when pushed on, enlarged, painless, those are the red flags. A hard, fixed lump or a visible swelling that is often painless and persists for more than two weeks should always be checked by your dental professional.
Now it’s time to look inside your mouth.
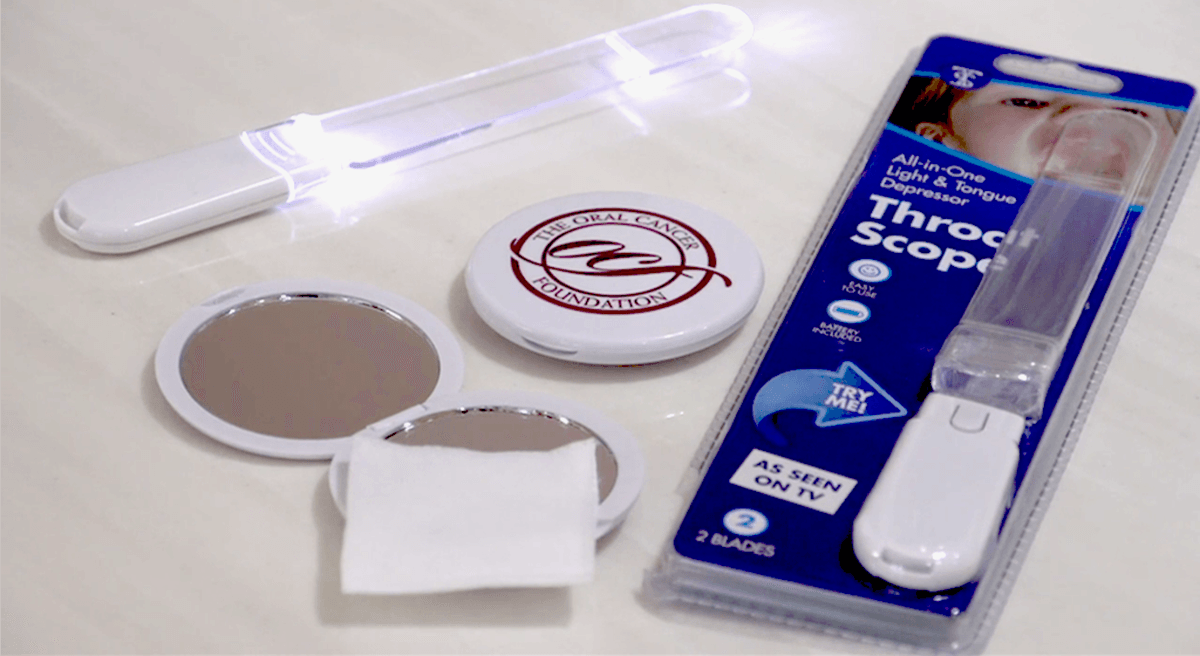
The examination of your mouth should include your lips, your gums, the inside of your cheeks, your tongue, the floor of your mouth, the roof of your mouth and back of the throat including your tonsils. It is best to follow a system each month when checking your mouth so you don’t overlook an area as you will have a routine. Here’s what you’ll need; a tongue depressor, light source, mirror, and a piece of gauze. We recommend the lit tongue depressor from Throat Scope™ seen in these pictures and the video because it combines full lighting to the area while working as a tongue depressor to move your tongue around.
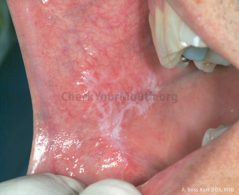
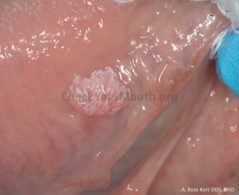
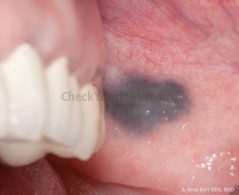
If you feel an area of hardness or see an area of discoloration or texture change on one side that persists more than two weeks, see your dental professional.
Ready to start?
Step 1 – Examining your lips
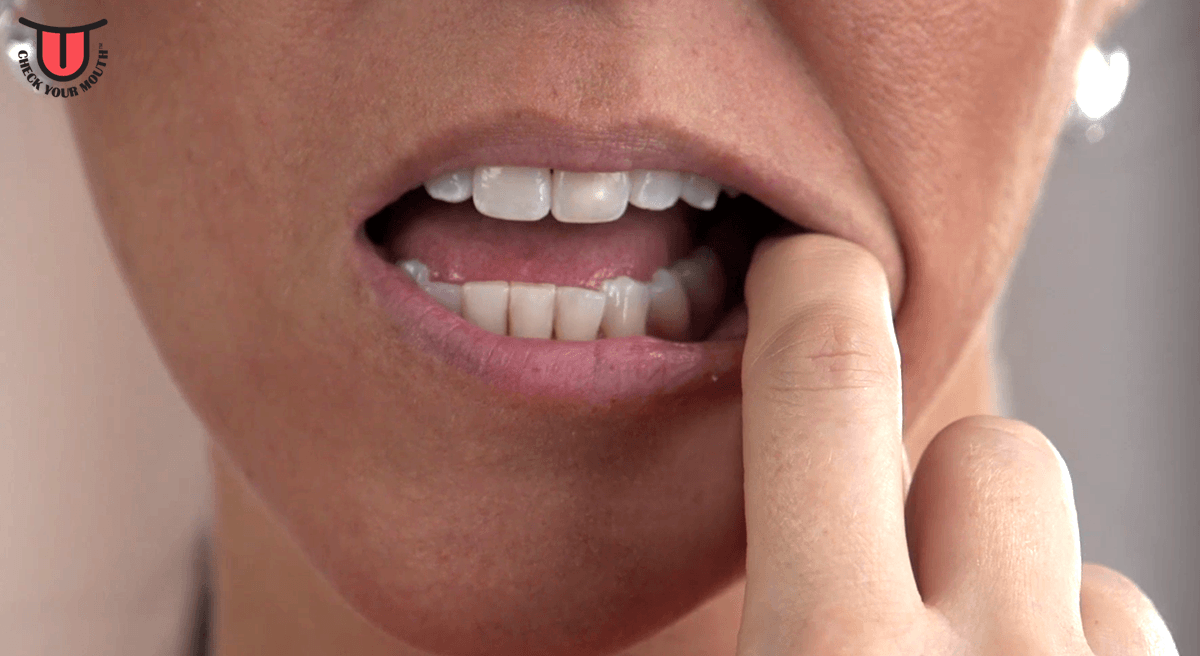
Your lips should have a defined border and be uniform in color and texture. Lip cancers are mostly caused by solar radiation and common in people that work outdoors. Most are found early as they are a very visible sore that is easily seen. But some occur within the lip or on the inner surface, and to find those early you must feel for their signs. Placing one finger inside and another finger outside the mouth, allows you to compress the lips and nearby tissue and feel that it is consistently soft. What you are feeling for is a thickened area or a lump. There are many minor salivary glands inside this area that may occasionally enlarge (often appearing as a clear blister) and then resolve either by applying pressure or spontaneously rupture on their own. These occur normally in most people.
Step 2 – Examining your gum tissues
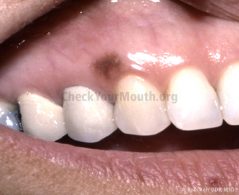
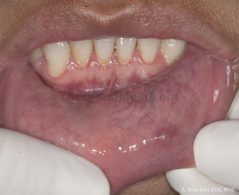
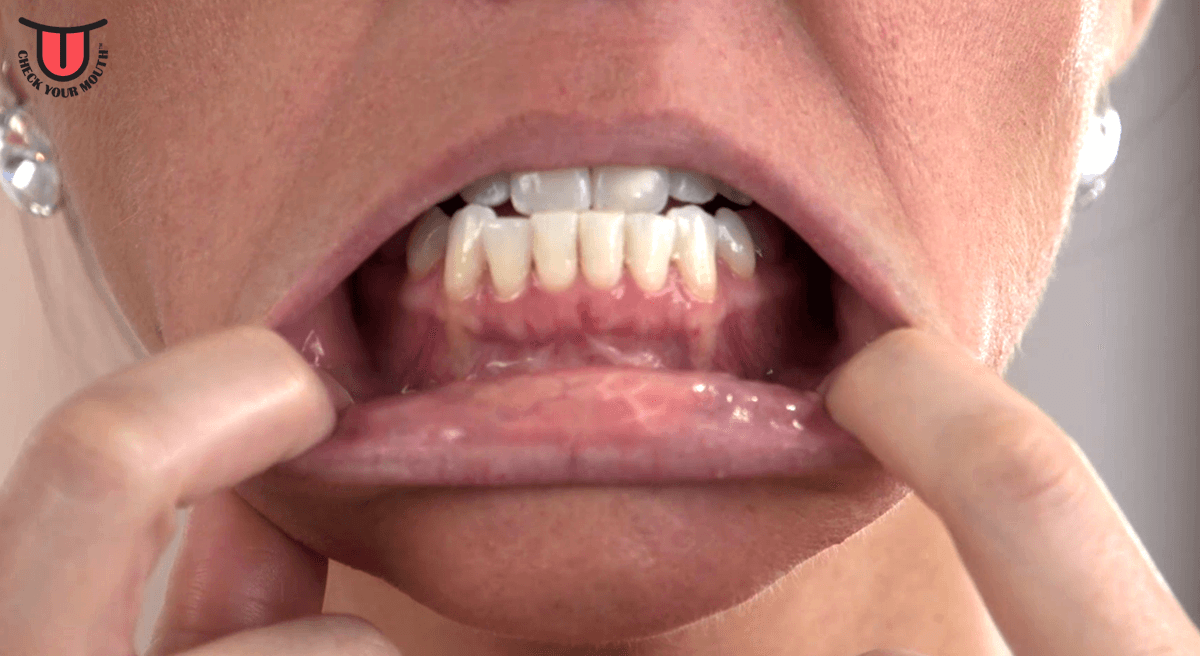
The gums should be pale pink closest to your teeth. Make sure to lift your upper and lower lip so that you can see all of this area right to the point where the gums meet the inside of the cheeks. This area may be deeper red in color and should feel uniform in texture. You’ll notice a small band of tissue between the 2 front teeth that attaches to the inside of your lips. These are called frenums, that tissue is normal. What you are looking for is any discoloration, ulceration, tissue of a different surface texture, any sore which bleeds easily when touched, or any growth above the level of the rest of the tissue.
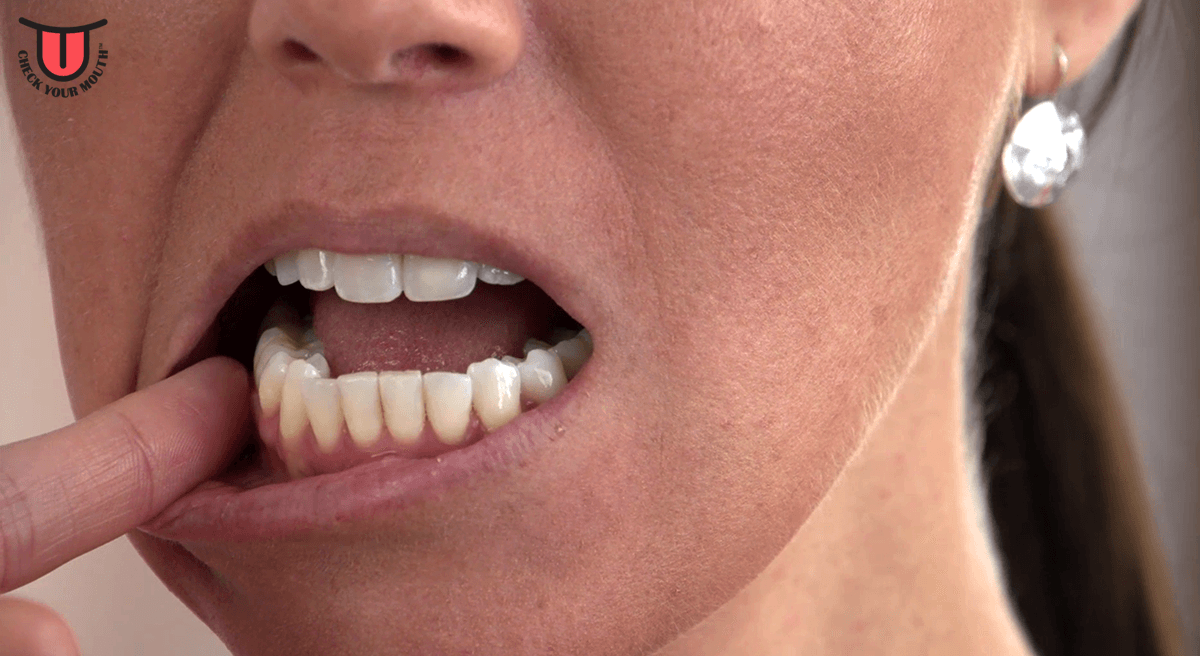
Step 3 – Examining the inside of your cheeks
Again with a finger placed inside the mouth and another on the outside, compress the tissue all the way from the corners of your mouth, up and down to the very back where your jaw ends. You’ll feel a raised bump on the inside of each cheek opposite your upper molars. These are the openings of your major salivary glands. You may also feel a line that runs along one or both cheeks related to cheek biting or the way your teeth meet together trapping the tissue when you are sleeping. It is nothing more than a hardened area of tissue your body’s defense mechanism dfevelops against the chronic abrasion taking place. This expanse of tissue is usually very uniform in color and texture. What you are looking for is any discoloration, ulceration, tissue of a different surface texture, or any growth above the level of the rest of the tissue.
Step 4 – Examining your tongue
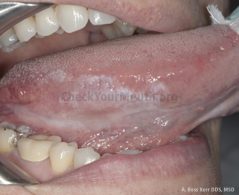
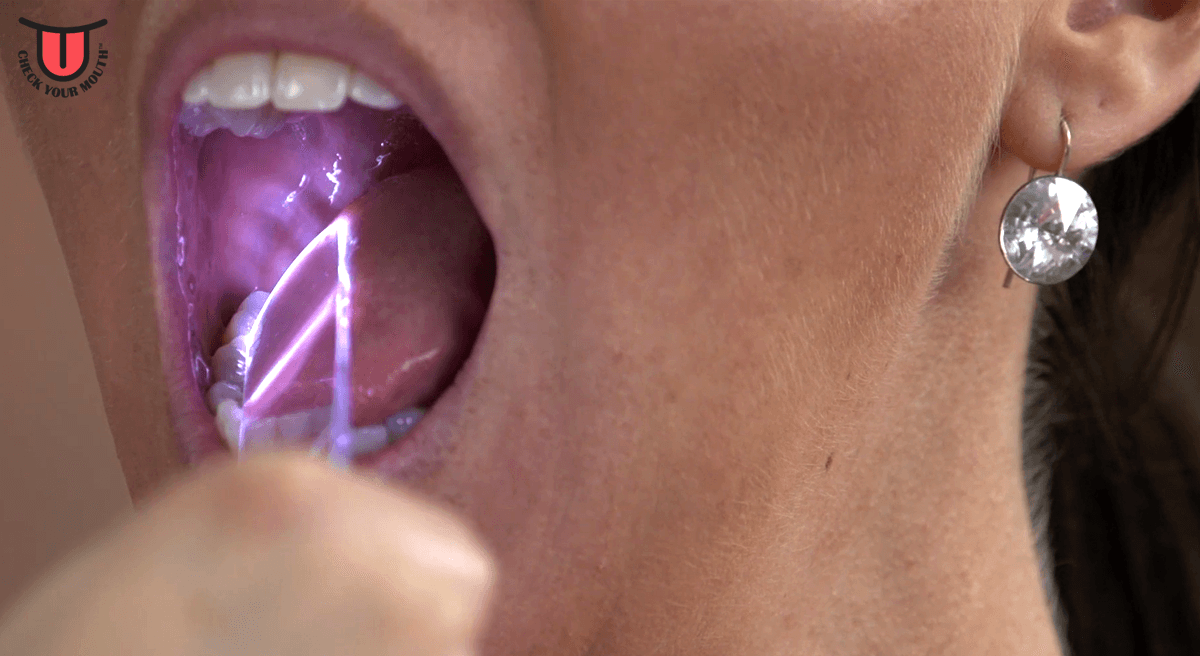
This is a very important area to examine closely as it is a high-risk area for oral cancer. Make sure to look and feel the top of the tongue, both sides, and the underside. Refer to the video for the proper technique. There are hundreds of small bumps of varying sizes on the tongue called papillae. They should be relatively consistent in color and texture. There are rows of larger, raised papillae towards the back of the tongue on the top surface.
Stick out your tongue. It should move freely and evenly from side to side.

With a piece of gauze around the tip of your tongue to get a good hold on it, pull it forward and move to the right and then to the left. Like other areas, uniformity of appearance is what you want to see, particularly a consistency in color and texture. All the abnormalities mentioned above apply here as well.
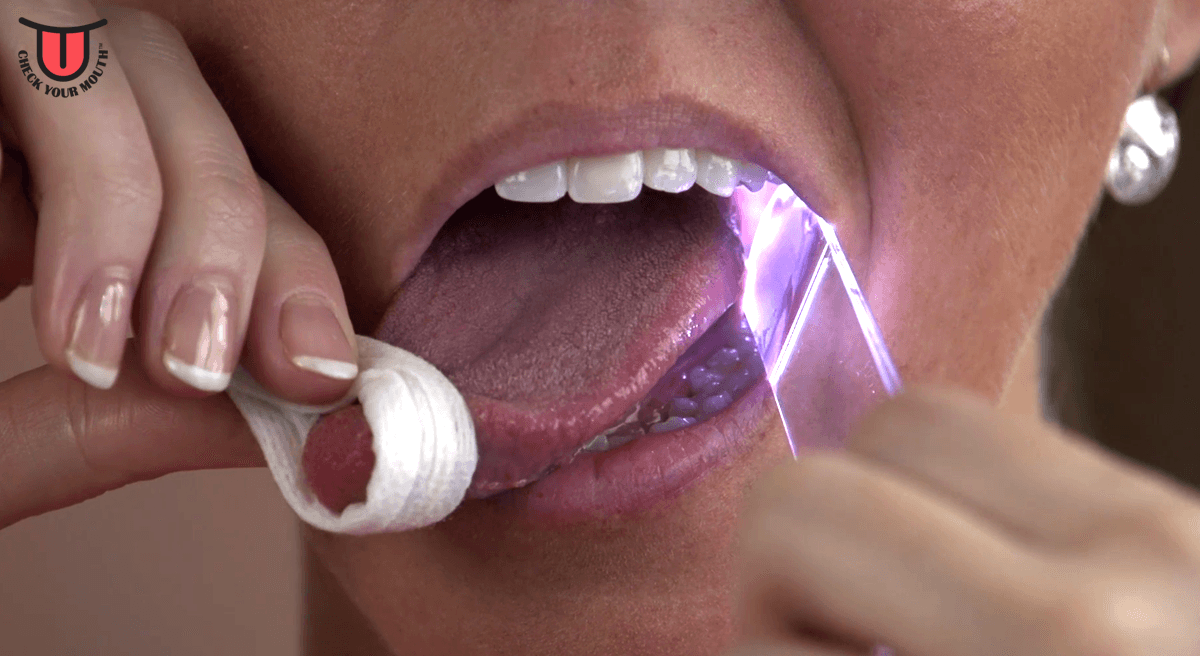
After your visual exam, feel both sides of your tongue from the back of the tongue to the tip of the tongue. They should feel relatively the same. Don’t forget to check the tip of the tongue under the gauze as well. What you are feeling for are any small hard areas, perhaps about the size of a pea. Cancers can begin within the tongue tissue and live there for awhile before erupting into a visible sore.
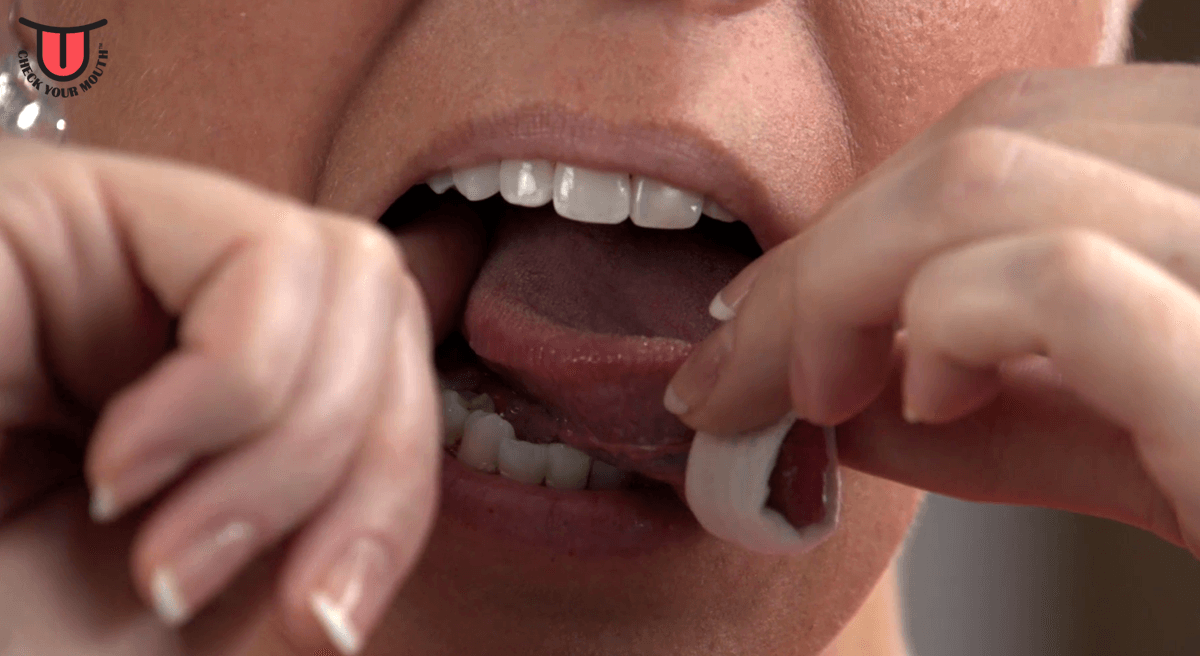
Touch the roof of your mouth with the tip of your tongue. Look at and feel the underside of the tongue. Throat Scope will provide the light source to examine this area of your tongue. You may notice some deep blue veins in this area. This is normal and represents the blood supply to the area. It should be free from any other discolorations like a white or red area, or any kind of sore or ulceration.
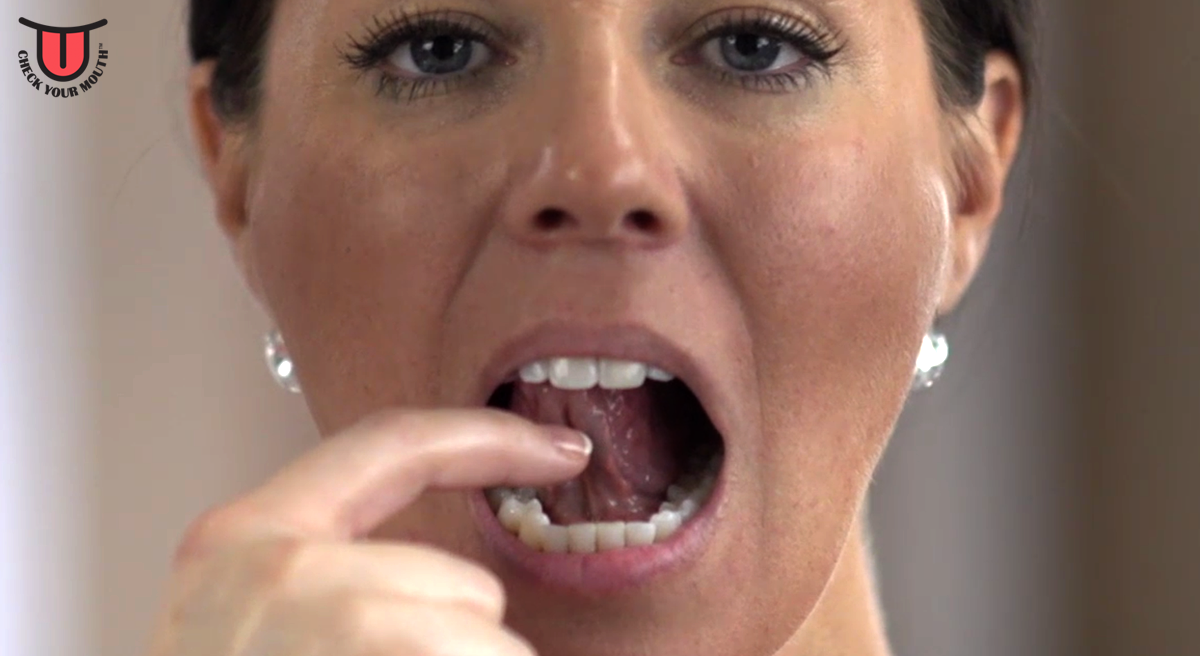
Step 5 – Examining the floor of your mouth
With one finger inside and a corresponding finger outside, compress the tissue moving from as far back as possible and all the way around from one side to the other side. You should not feel any small hard areas. The area should be free of discolorations or ulcerations.
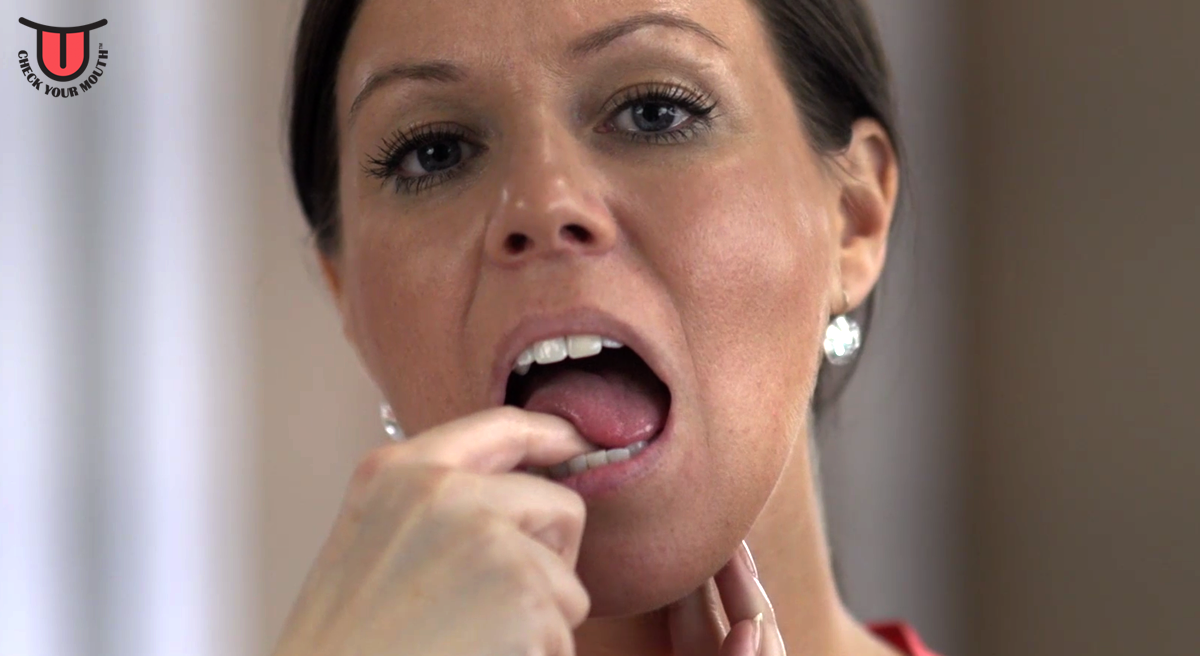
Look and feel the floor of the mouth underneath the tongue. You’ll notice a number of veins in the floor of the mouth as well, also blue in color again representing the blood supply. You’ll also see a small band of tissue that attaches the tongue to the floor of the mouth. This is another frenum just like what you saw when you lifted both your upper and lower lip to check your gum tissues.
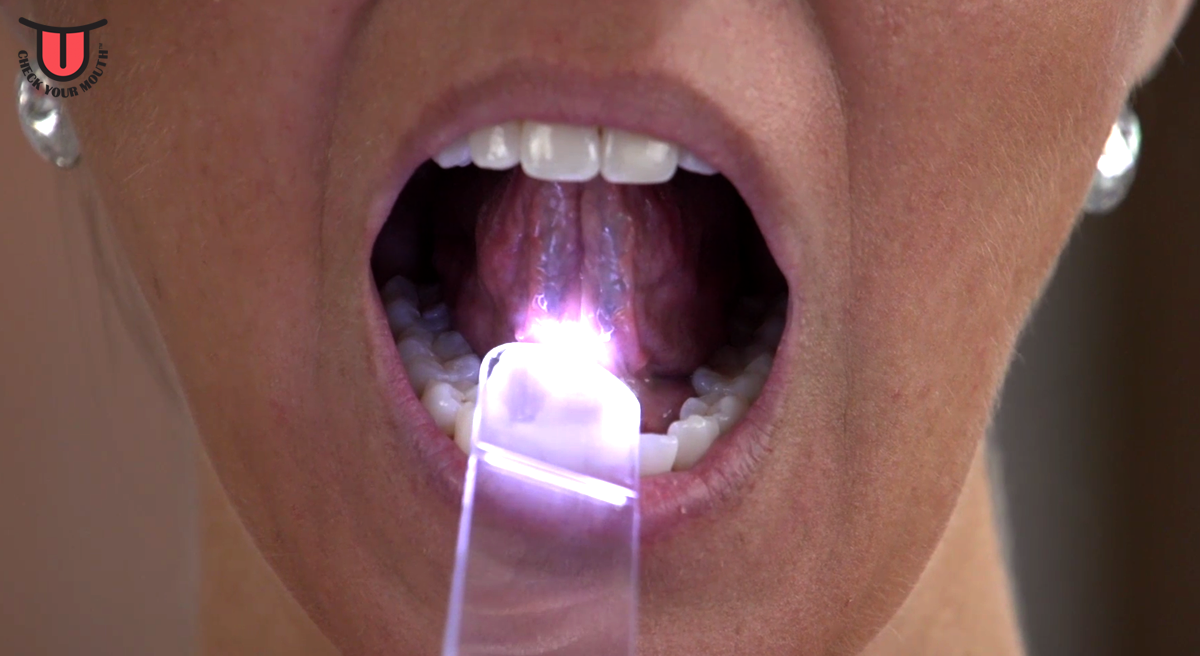
Step 6 – Examining the roof of your mouth
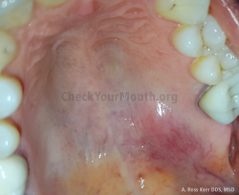
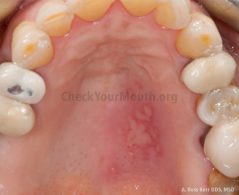
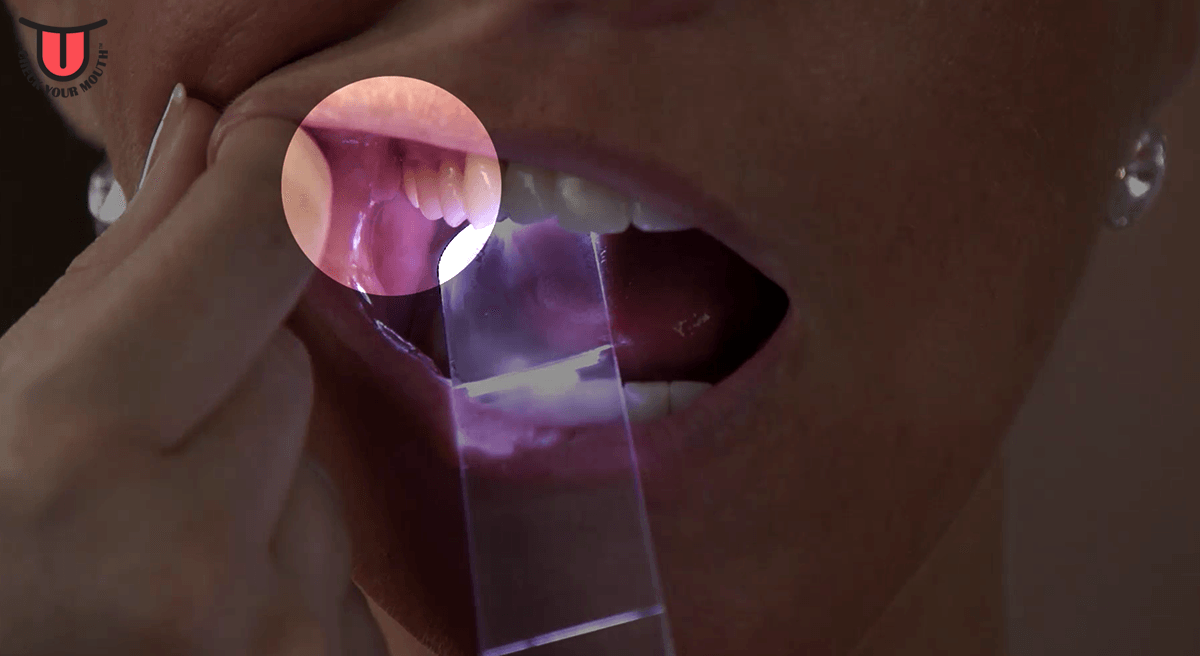
With Throat Scope™ in your hand, look across the entire roof of your mouth. Again, this area is very uniform in color in most people, and it should be free from any sores or ulcerations. Next feel the roof of your mouth. The palate is harder towards the front of the mouth and has a number of ridges on it. As you move towards the back it is softer, even in texture and uniform in color. You may find a bony growth/ridge down the midline of your palate. These come in all shapes and sizes and most likely has been present all your life.
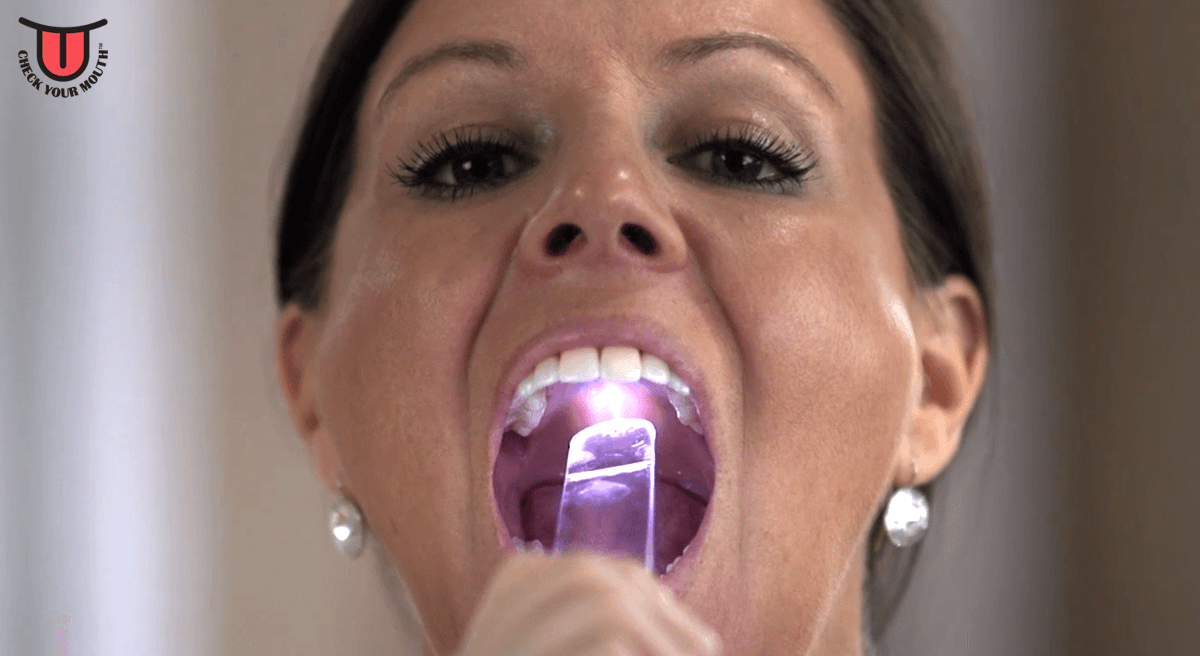
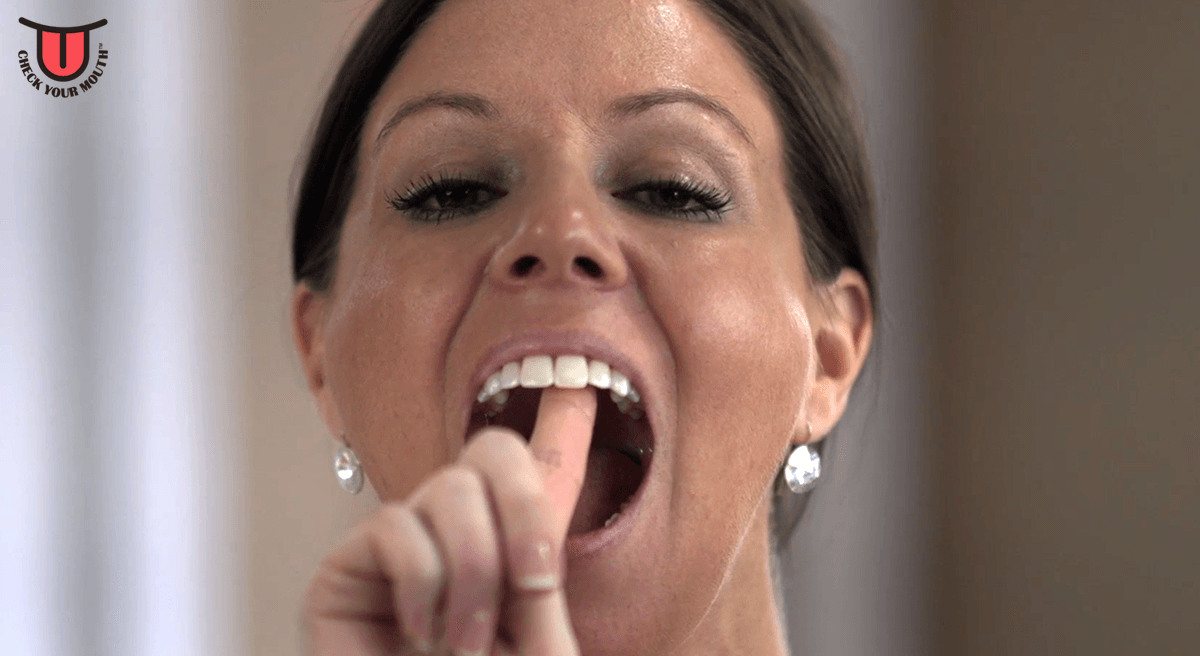
Step 7 –Examining back of your throat and tonsils
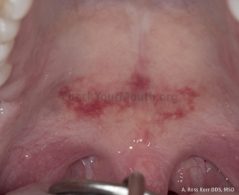
There are many variations of normal when we consider healthy tonsils. From time to time one or both tonsils may become visibly infected increasing in size and also changing in color. With the Throat Scope, push down on the tongue to view the back of the throat. The abnormalities mentioned in the above sections should all be absent here as well. A swollen tonsil on one side only, that is tender to the touch, is usually that way due to an infection, not cancer. One that becomes swollen, stays that way for three weeks or longer, and is NOT tender to the touch is worthy of being examined by a professional. Viral caused tonsil cancers are on the rise, and they seldom produce surface abnormalities that you can see. The area behind the tonsil called the crypt, is also a common area for these cancers to arise, and it is problematic even for professionals to discover something in that area as it is many folds of tissue which can hide a problem. These back of the mouth cancers are not easy to discover early cancers in, and frequently the first sign that you have developed one in this area is that painless swollen node in your neck that we asked you to feel for at the beginning of this process. Other signs of a base of tongue, or back of the mouth (oropharynx) cancer developing are a painless difficulty in swallowing, a chronic sore throat or hoarseness that lasts more than two weeks, or a unilateral ear ache.
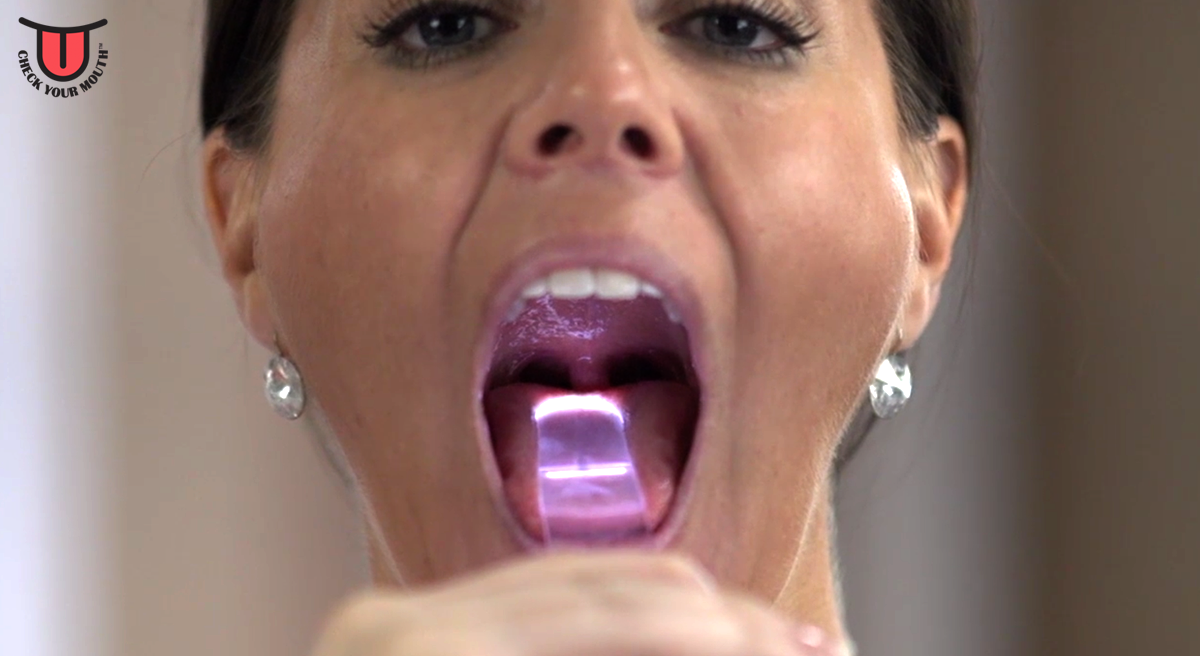
Some final thoughts…
There are a number of ways a “normal mouth” varies in different people of all ages. The beauty of doing a monthly self-examination is that you will notice if something has changed over a period of time. Most areas of the mouth, the cheeks, the gums around your teeth, the top of your tongue etc. are pretty uniform in color, texture, and appearance. But when a small area of that uniformity becomes different in some way; to a regular examiner of their own mouth, it will stand out. Remember if you find something different, persistence is key to deciding it is worthy of further examination or not. If something does not resolve within 14 days, self-refer to your dental or medical professional. Most things we find will not be cancer, however when it comes to those things like cancer that are dangerous, earlier discovery makes a big difference. Better to be safe than sorry.
